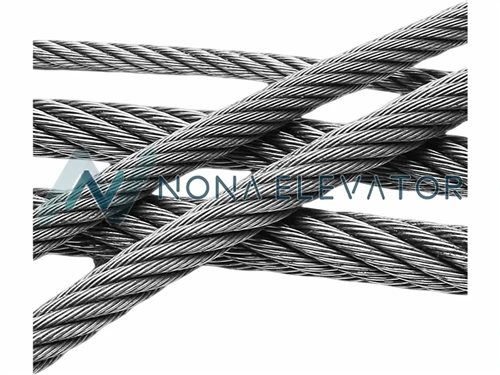
Installing an OTIS elevator traction belt in a new elevator is a complex yet crucial process that requires precision, expertise, and adherence to strict safety standards. As a trusted OTIS Elevator Traction Belt supplier, I have witnessed firsthand the importance of a proper installation for the smooth and efficient operation of elevators. In this blog, I will guide you through the step-by-step process of installing an OTIS elevator traction belt, highlighting key considerations and best practices along the way.
Pre-Installation Preparation
Before beginning the installation process, it is essential to conduct a thorough inspection of the elevator shaft, machinery, and all related components. This includes checking for any signs of damage, wear, or misalignment that could affect the performance of the traction belt. Additionally, ensure that all necessary tools and equipment are readily available, including hoists, pulleys, wrenches, and measuring devices.
It is also crucial to review the elevator manufacturer's specifications and installation guidelines to ensure compliance with industry standards and regulations. This includes understanding the specific requirements for the OTIS elevator traction belt, such as its size, tension, and alignment. By following these guidelines, you can minimize the risk of installation errors and ensure the long-term reliability of the elevator system.
Removing the Old Traction Belt (if applicable)
If you are replacing an existing traction belt, the first step is to safely remove the old belt from the elevator system. This typically involves disconnecting the power supply to the elevator, releasing the tension on the belt, and carefully removing it from the pulleys and sheaves. It is important to handle the old belt with care to avoid any damage or injury.
Once the old belt has been removed, thoroughly clean the pulleys and sheaves to remove any dirt, debris, or residue. This will ensure proper adhesion and alignment of the new traction belt.
Installing the New Traction Belt
- Unrolling the Belt: Carefully unroll the new OTIS elevator traction belt and ensure that it is free from any kinks, twists, or damage. Lay the belt flat on a clean surface to prevent it from becoming tangled or damaged during the installation process.
- Positioning the Belt: Position the belt around the pulleys and sheaves according to the manufacturer's specifications. Ensure that the belt is properly aligned and centered on the pulleys to prevent uneven wear and premature failure.
- Tensioning the Belt: Use a tensioning device to adjust the tension of the belt to the recommended level. This is typically done by applying a specific amount of force to the belt using a tension gauge or other measuring device. It is important to follow the manufacturer's guidelines for tensioning the belt to ensure optimal performance and safety.
- Securing the Belt: Once the belt has been properly tensioned, secure it in place using the appropriate fasteners or clamps. This will prevent the belt from slipping or coming loose during operation.
- Checking the Alignment: After the belt has been installed and secured, check the alignment of the pulleys and sheaves to ensure that they are properly aligned with the belt. This can be done using a straightedge or other alignment tool. If necessary, make any adjustments to the pulleys or sheaves to ensure proper alignment.
Testing and Commissioning
Once the OTIS elevator traction belt has been installed, it is important to conduct a series of tests to ensure that it is functioning properly. This includes running the elevator through a series of test cycles to check for any signs of abnormal noise, vibration, or movement. Additionally, check the tension of the belt regularly to ensure that it remains within the recommended range.
After the testing is complete, commission the elevator system and ensure that it is operating safely and efficiently. This may involve programming the elevator control system, testing the safety features, and conducting a final inspection of the elevator system.
Maintenance and Troubleshooting
To ensure the long-term reliability and performance of the OTIS elevator traction belt, it is important to implement a regular maintenance schedule. This includes inspecting the belt for signs of wear, damage, or misalignment, and replacing it as needed. Additionally, lubricate the pulleys and sheaves regularly to reduce friction and wear.
If you encounter any problems or issues with the OTIS elevator traction belt, it is important to troubleshoot the problem as soon as possible. This may involve checking the tension of the belt, inspecting the pulleys and sheaves for damage, or consulting with a qualified elevator technician.
Related Products and Resources
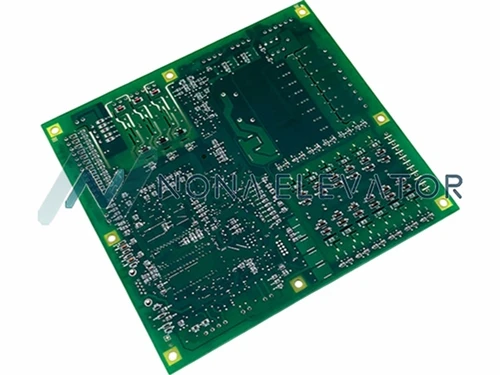
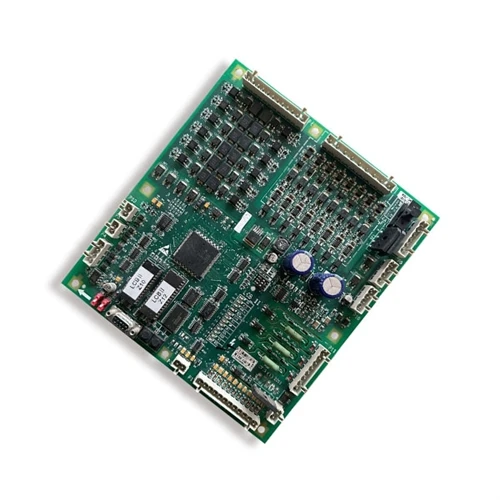
As an OTIS Elevator Traction Belt supplier, we also offer a wide range of other elevator parts and components to meet your needs. Some of our popular products include the OTIS Elevator Communication Board RS14 GCA25005B1 GDA25005B1, XIZI OTIS Elevator Guide Shoe 120x10mm 120x16mm, and OTIS Elevator Inverter OVFR03B-402.
Conclusion
Installing an OTIS elevator traction belt is a complex process that requires precision, expertise, and adherence to strict safety standards. By following the steps outlined in this blog and working with a qualified elevator technician, you can ensure the proper installation and long-term reliability of your elevator system. If you have any questions or need further assistance with installing an OTIS elevator traction belt, please do not hesitate to contact us. We are here to help you find the right solution for your elevator needs.


References
- OTIS Elevator Installation Manual
- Industry Standards and Regulations for Elevator Installation and Maintenance